G05
BMW X5
1.4MVIEWS
233REPLIES
259APPRECIATES
58ACTIVE PEOPLE
02-16-2026LAST POST
09-23-2016
I've always been fascinated with people's post processing,. How far do they take their photos? Absurdly far, or not far at all? If you feel like sharing, lets post up some of our work! Start with a raw file with little to no modification, then follow it with the finished piece.

I'll start!

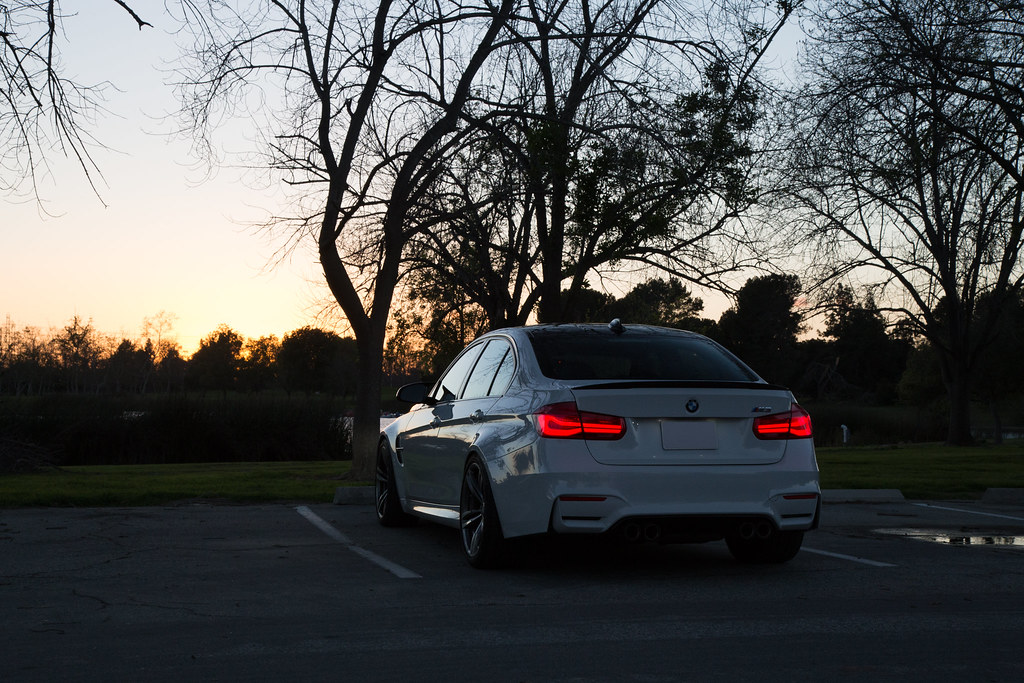
What was a cold overcast and very foggy mid morning...
29869110195_56c4e8b245_b.jpg
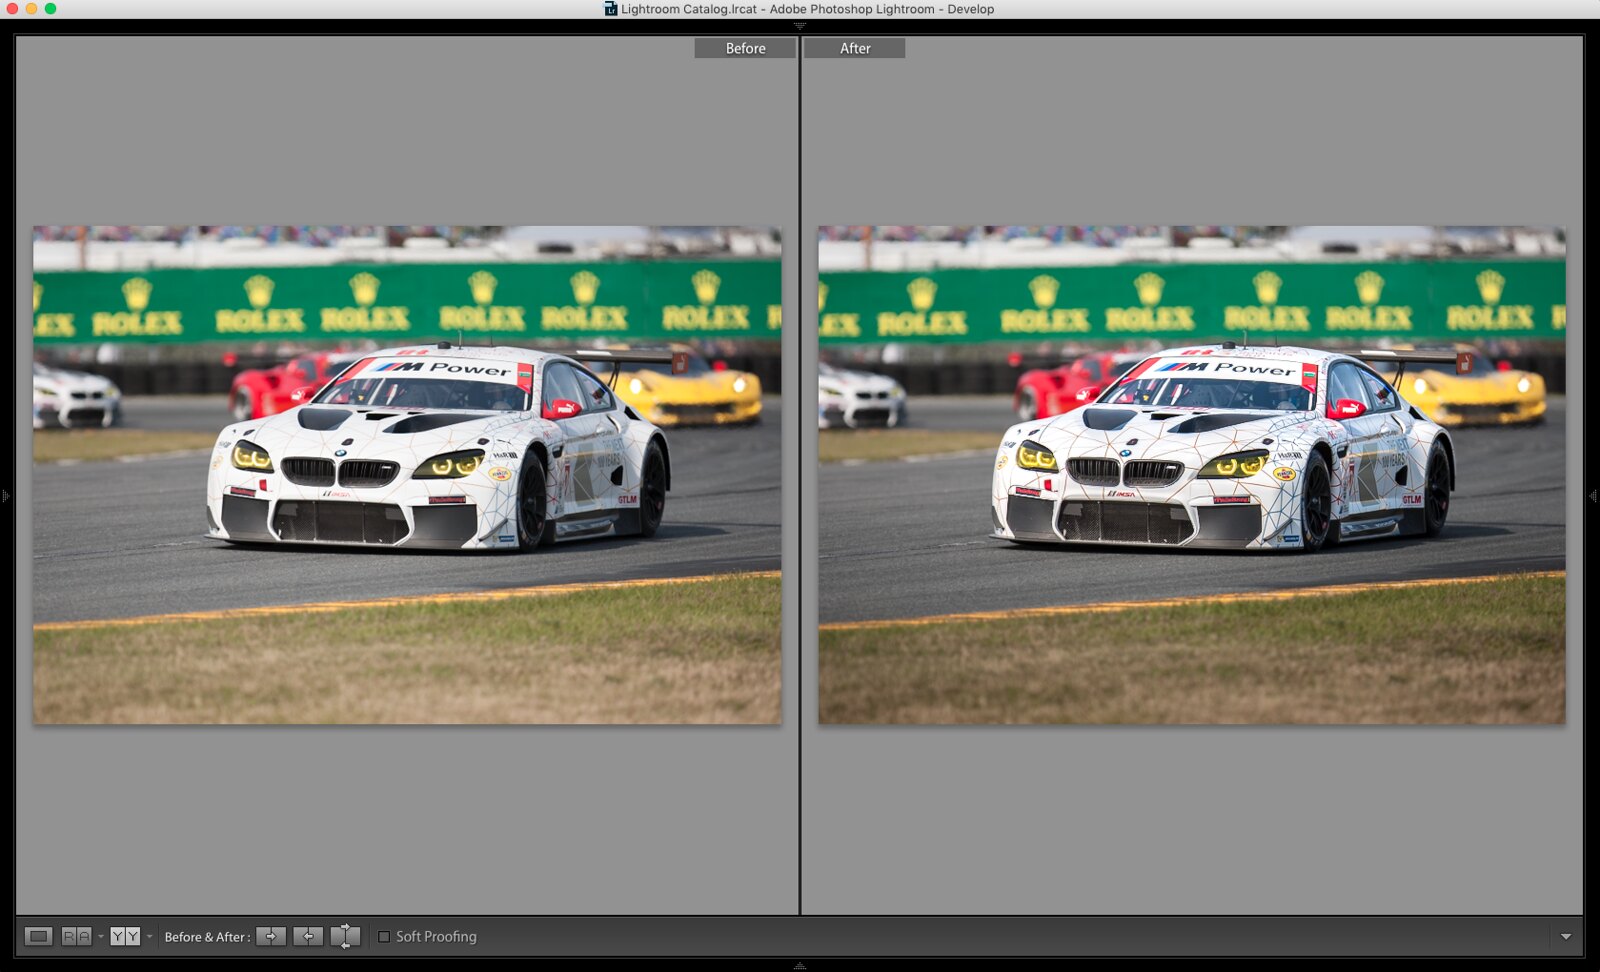
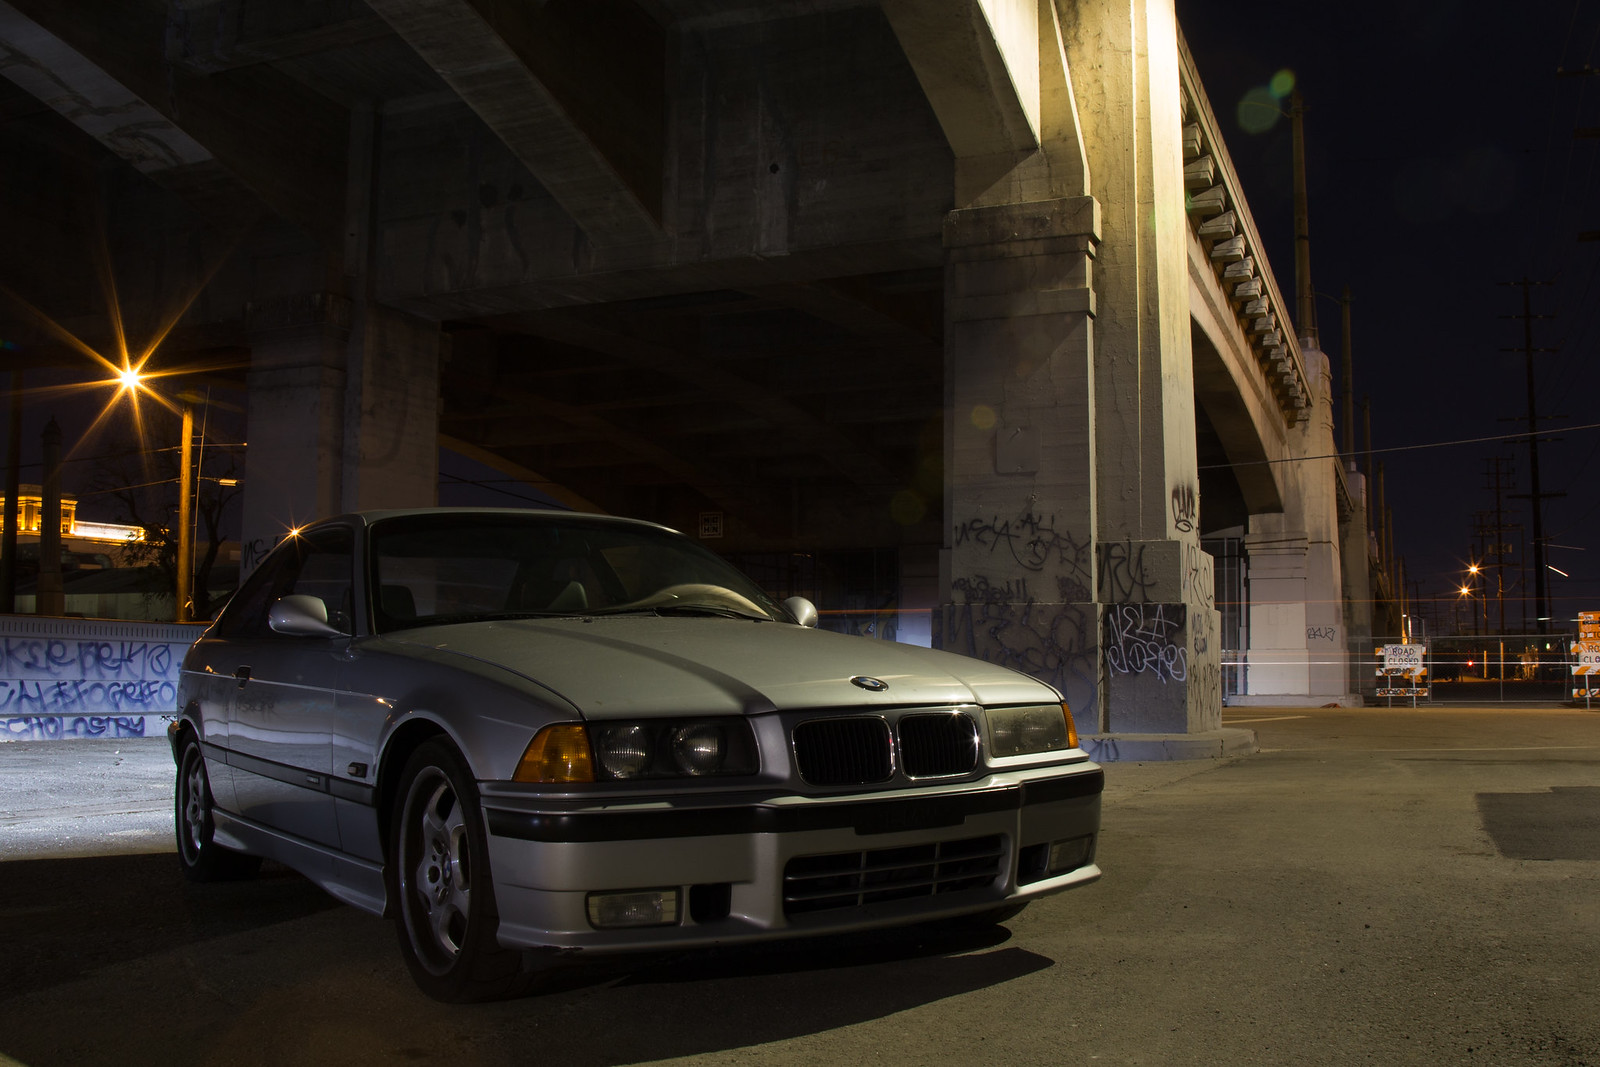
Canyon Carver - RAW by JMG, on Flickr


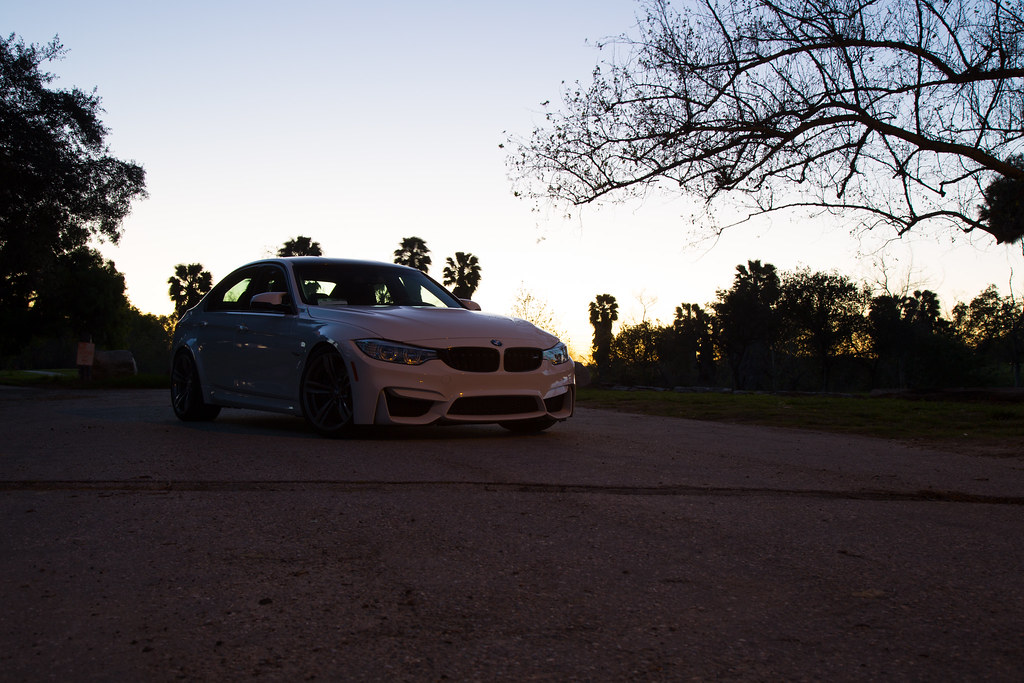
...turned into a warm sunset.
29745013396_14487209d2_b.jpg
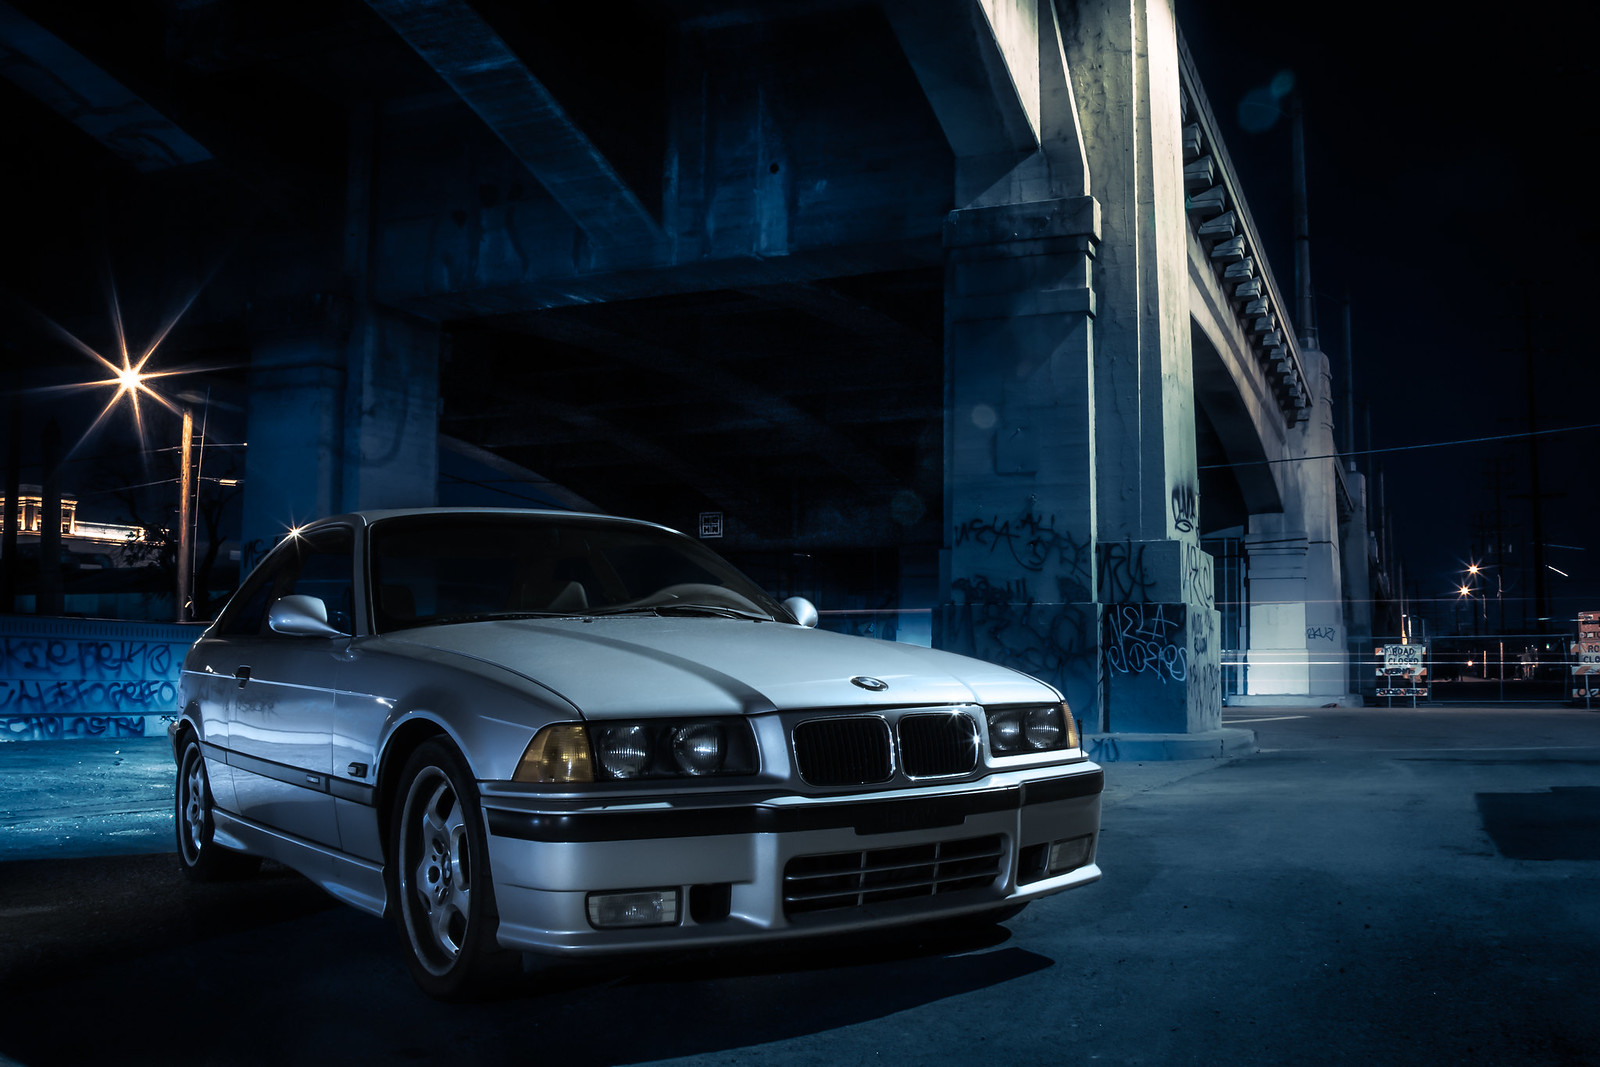
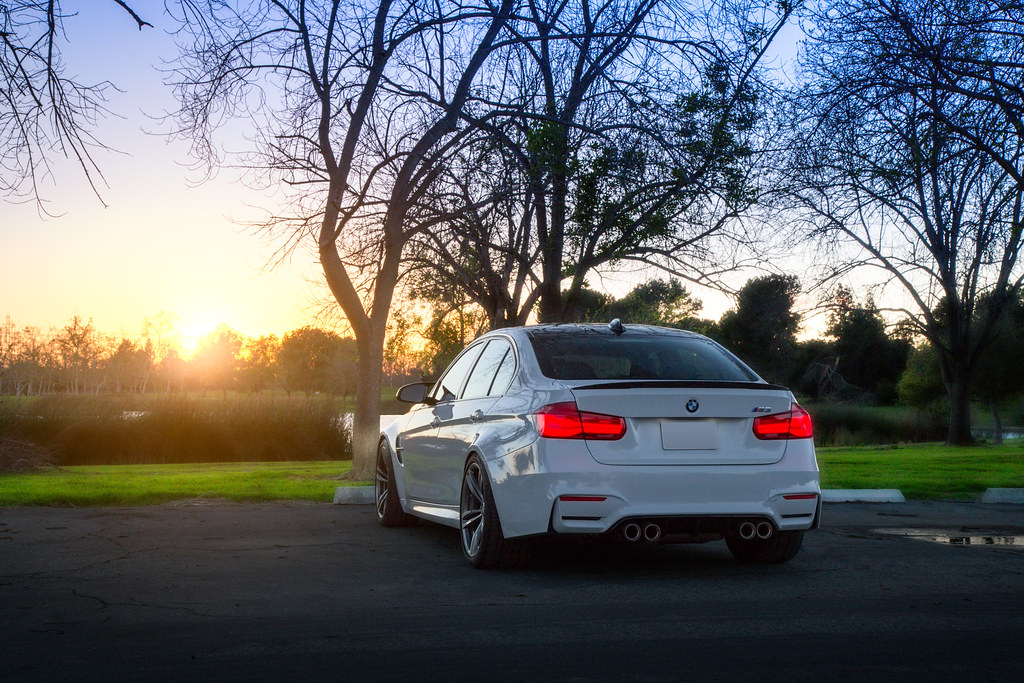
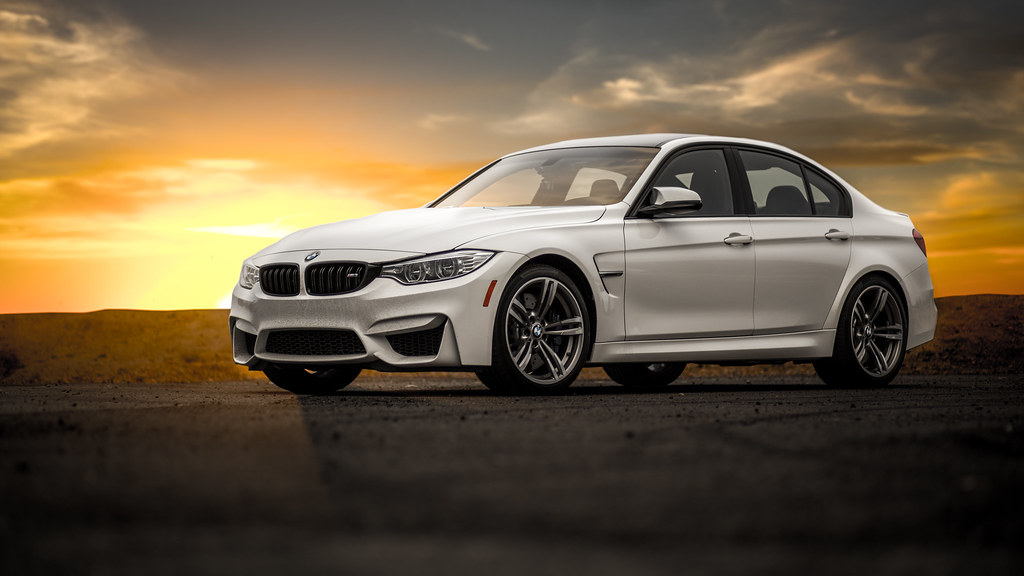
Canyon Carver by JMG, on Flickr

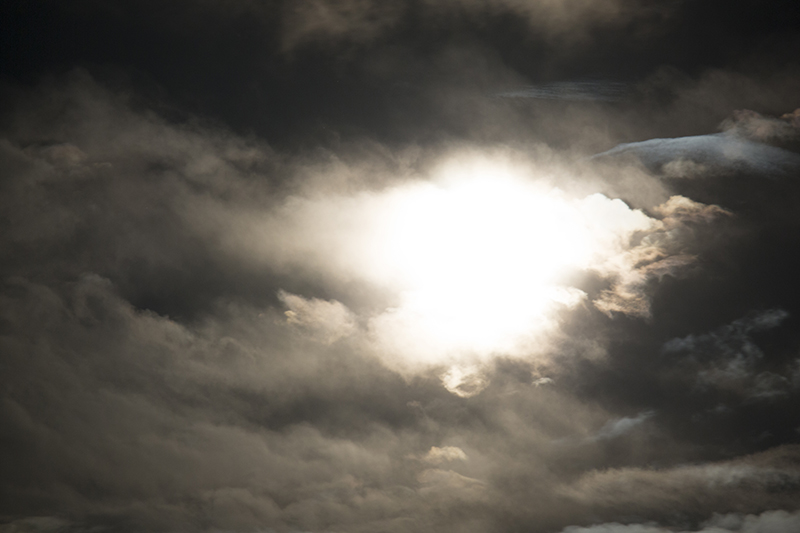
I took the sky from another photo I took on Mulholland one evening. I cropped out the windows and added reflection to the front windshield. Customary lighting, color tweaks.
09-23-2016
Personally I like to keep the major elements in my photos as they are, and actually shoot at the right time, etc.

That being said, there are times when it is necessary to pull in elements from different photos, but I will only do that if I plan on it during the shoot.

An example is a recent shoot at Death Valley, where focusing for the Milky Way (and exposing for it) while also keeping a focused foreground with light painting, all while keeping the shutter speed short enough to prevent star trails .... yeah, it was impossible to do all that in one shot. So, I have to combine a shot exposed and focused for the foreground with another one for the Milky Way.

I think also it takes a lot of practice to get good at pulling the proper shapes in order to change out a non-green-screen background, such as in your example.

If you look closely at the hood, there are some areas where the sunset is overriding the hood and it looks photoshopped. I'm not saying don't do it, but I will definitely say, follow the lines at a maximum zoom level in Photoshop to make sure you do not cut off parts of the object that you are pulling out of a scene. It is also pretty evident at the line where the bushes meet the sky.

This is routinely done in interior design and real estate photography, for example, to get an interior shot that has nice exposure of both the inside of a room as well as what is going on outside. Without extensive lighting setup, you pretty much have to combine a couple of different shots to make it look nice. And making sure you make it look seamless is where the practice comes in.

I'll see about posting some before and afters later on.
09-23-2016
I took these two shots from the roof of a dorm here at the university on the night of a lunar eclipse a year or so ago. Then I combined them in Photoshop.

1.jpg

02.jpg

22145502115_0a601c60ec_c.jpg
Old Main
by Mark Johnson, on Flickr
09-23-2016
ddk632 wrote
Personally I like to keep the major elements in my photos as they are, and actually shoot at the right time, etc.

That being said, there are times when it is necessary to pull in elements from different photos, but I will only do that if I plan on it during the shoot.

An example is a recent shoot at Death Valley, where focusing for the Milky Way (and exposing for it) while also keeping a focused foreground with light painting, all while keeping the shutter speed short enough to prevent star trails .... yeah, it was impossible to do all that in one shot. So, I have to combine a shot exposed and focused for the foreground with another one for the Milky Way.

I think also it takes a lot of practice to get good at pulling the proper shapes in order to change out a non-green-screen background, such as in your example.

If you look closely at the hood, there are some areas where the sunset is overriding the hood and it looks photoshopped. I'm not saying don't do it, but I will definitely say, follow the lines at a maximum zoom level in Photoshop to make sure you do not cut off parts of the object that you are pulling out of a scene. It is also pretty evident at the line where the bushes meet the sky.

This is routinely done in interior design and real estate photography, for example, to get an interior shot that has nice exposure of both the inside of a room as well as what is going on outside. Without extensive lighting setup, you pretty much have to combine a couple of different shots to make it look nice. And making sure you make it look seamless is where the practice comes in.

I'll see about posting some before and afters later on.
Thanks for the tips! Looking forward to your pics!
09-23-2016
M_Six wrote
I took these two shots from the roof of a dorm here at the university on the night of a lunar eclipse a year or so ago. Then I combined them in Photoshop.

22145502115_0a601c60ec_c.jpg
Old Main
by Mark Johnson, on Flickr
Nice interpretation M_Six, love the mood!
02-09-2017
I thought this would be a good example of an afternoon spent working on this RAW photo:

32793198835_066cb2c141_h.jpgCity Slicker - Raw by JMG, on Flickr

I exposed for the highlights on this one. And I did NOT get multiple exposures like I should have, so the shadows are lacking detail, the lighting is a sick yellow/green color, the driver headlight is showing wear and there are flaws in the lower bumper.

Here's the result of a few hrs of work:

31950006094_c06daa48ad_h.jpgCity Slicker by JMG, on Flickr

I went for a cool blue tone, brightened up the car to highlight it a bit, and fixed the diver headlight by stealing the headlight components from the passenger side. A bunch of color grading and correction on the car to make it "pop" and some lighting effects on the background. What do you think?
02-09-2017
^^^Nice work.:thumbsup:
03-06-2017
Another one I worked on tonight. Before:

33281022175_beba692db5_b.jpgEl Dorade Sunset - RAW by JMG, on Flickr

After:

33124744312_0cda90f0e5_b.jpgEl Dorado Sunset by JMG, on Flickr

Since I had missed the sunset by about 10 minutes, I had to "enhance" it to get the look I was going for tonight.
03-06-2017
I feels like you put more work into the backgrounds then the cars in the last two edits. So the cars looks pretty bad in both.
The last shot has such a busy background too with all the trees steeling attention so its hard to do anything worthwhile with it.

There are a lot of objects that should be removed/cloned in the images. Take a look at them with "fresh eyes" and look at them. If the first thing you notice isn't the car, fix that. Repeat from step one.
03-06-2017
metrickid wrote
I feels like you put more work into the backgrounds then the cars in the last two edits. So the cars looks pretty bad in both.
The last shot has such a busy background too with all the trees steeling attention so its hard to do anything worthwhile with it.

There are a lot of objects that should be removed/cloned in the images. Take a look at them with "fresh eyes" and look at them. If the first thing you notice isn't the car, fix that. Repeat from step one.
Thanks for the feedback, I'm not sure what else I can clone out on the sunset pic.
03-06-2017
Great thread idea. I've been meaning to take some more shots when things warm up. Until then, sub'd :)
03-06-2017
Like the thread so far, but some pictures are really blown out.

Post processing should necessarily mean more 'noise' or 'blow out' is ok. imho ;)
03-06-2017
jmg wrote
Thanks for the feedback, I'm not sure what else I can clone out on the sunset pic.
Well, I like your images (and follow you on Flickr) so don't take it the wrong way but it is not a good picture to start with as it is way to busy with the trees and the overall composition is lacking. You can take a lot better pictures than this, so I wouldn't even work with the image to begin with.

So I would recommend to find a more simplistic composition to begin with so the car can be more in focus without competing with so many other objects.
03-20-2017
Another edit

RAW:

33386325792_567636c604_b.jpgEl Dorado RAW by JMG, on Flickr

After:

33386318832_eb7fa1e98a_b.jpgEl Dorado 2 by JMG, on Flickr
04-01-2017
A very cool thread. Don't know how I've missed it for so long. If I may throw my hat in the ring...


Straight out of the camera. Not a single edit other than resizing and converting to .jpg.

Vanessa.jpg


The post post-processing result:

The%20Eyes%20Have%20It.jpg
04-03-2017
Zing wrote
A very cool thread. Don't know how I've missed it for so long. If I may throw my hat in the ring...


Straight out of the camera. Not a single edit other than resizing and converting to .jpg.

Vanessa.jpg
I actually like the SOOC shot better - her skin tone is beautiful as-is
04-03-2017
Matticus91 wrote
I actually like the SOOC shot better - her skin tone is beautiful as-is
I agree, the edited one just looks soft and unnatural.
04-03-2017
Interesting. Maybe I gave it too much warmth and added too much glow.
04-03-2017
Zing wrote
Interesting. Maybe I gave it too much warmth and added too much glow.
Yes, i think it's only a matter of degree. In the original, she looks too washed out for my taste. I'd probably go in the middle, closer to your finished product.
04-04-2017
33796783916_68e9fe3872_h.jpg

hi-res link - https://www.flickr.com/photos/djdorifto/33796783916/sizes/o/


My main workhorse has always been lightroom, it can be pretty powerfull and enough for hobby photographers like myself. If i need to do anything crazy like content aware, clone out stuff and what not, i'll save the image and transfer it to PS.

This was last year's Rolex 24hours
04-05-2017
highwaystardoritos wrote
If i need to do anything crazy like content aware, clone out stuff and what not, i'll save the image and transfer it to PS.
You do know you can open it in Photoshop from Lightroom and with that keep the Photoshopped version in your Lightroom library?
04-05-2017
metrickid wrote
You do know you can open it in Photoshop from Lightroom and with that keep the Photoshopped version in your Lightroom library?
It will also update your Lightroom version with the photoshop version including adjustments. So if you forgot to clone somthing out, but you did all this color grading work, you can open it in PS and clone it out then lightroom will update the photo and keep your other adjustments intact.