GENERAL NOTE: This method was created for a true garage DIY with minimal intrusion to OE equipment. The proper method would require a much more comprehensive set of instructions and additional tools (rivet gun, etc).
Step 1: Start the vehicle and turn the wheel to the opposite side of which you intend to work. This will grant you easier access to the fender liner.
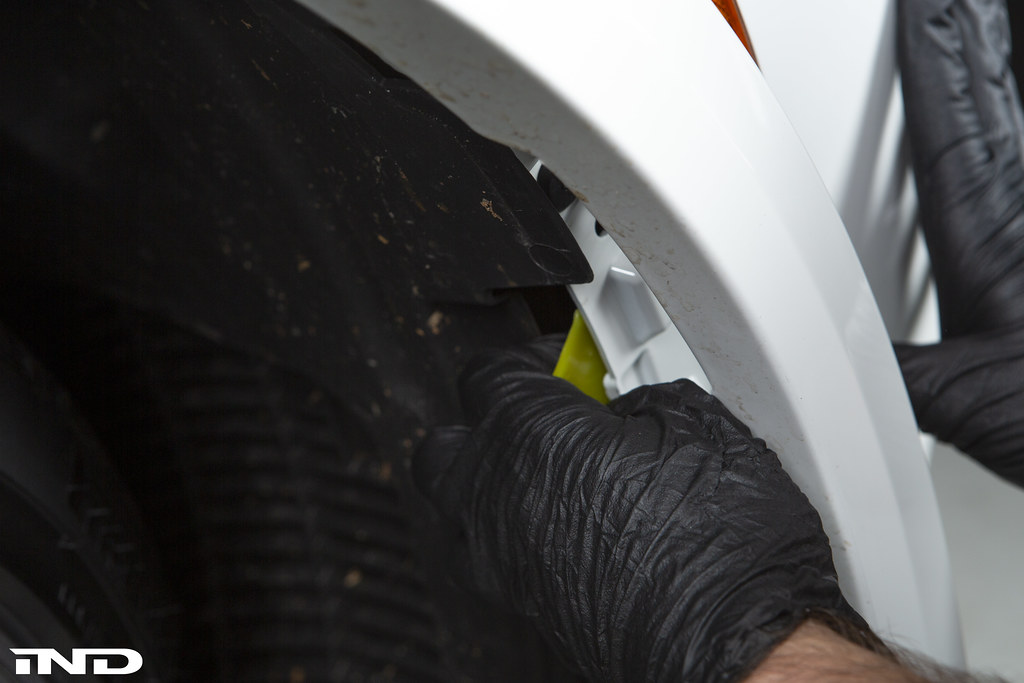
Step 2: Remove the two 8mm fender liner bolts aft of the reflector and pull the liner loose.
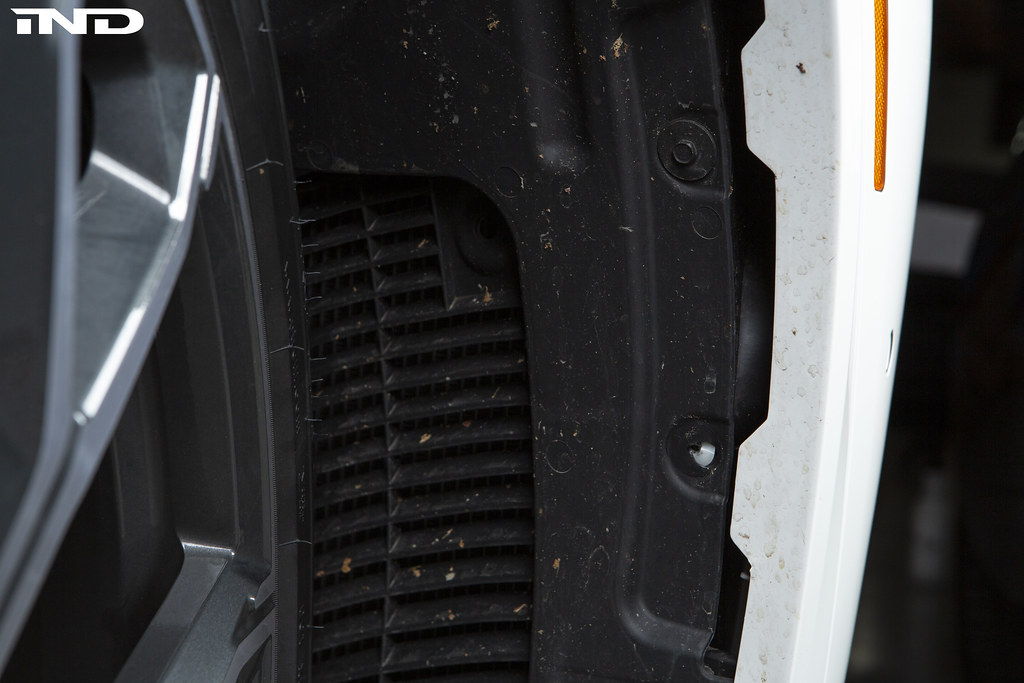
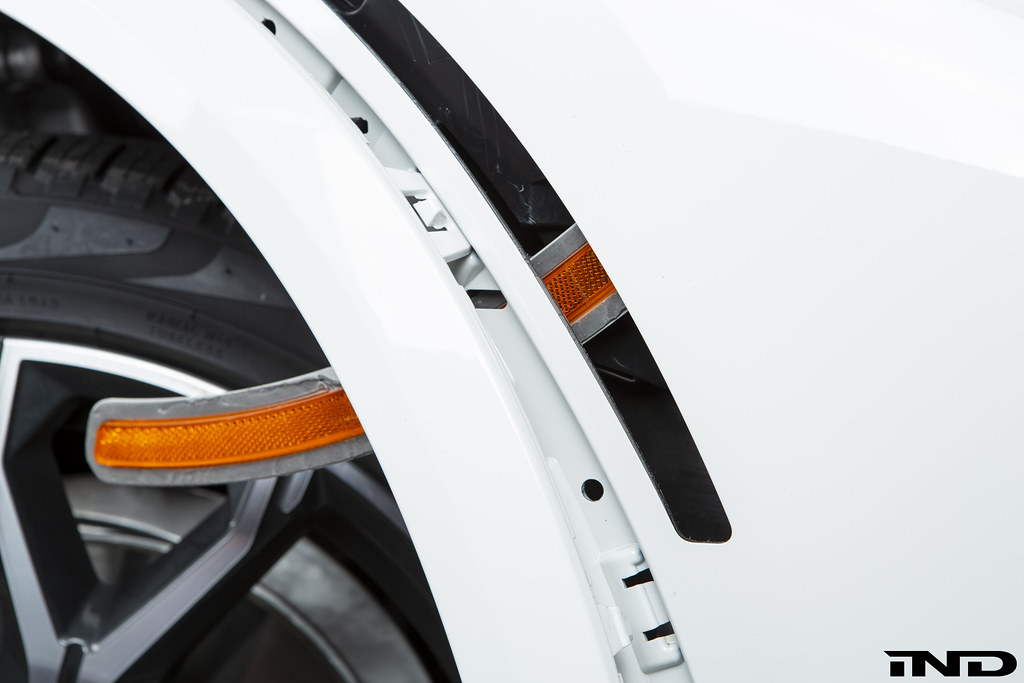
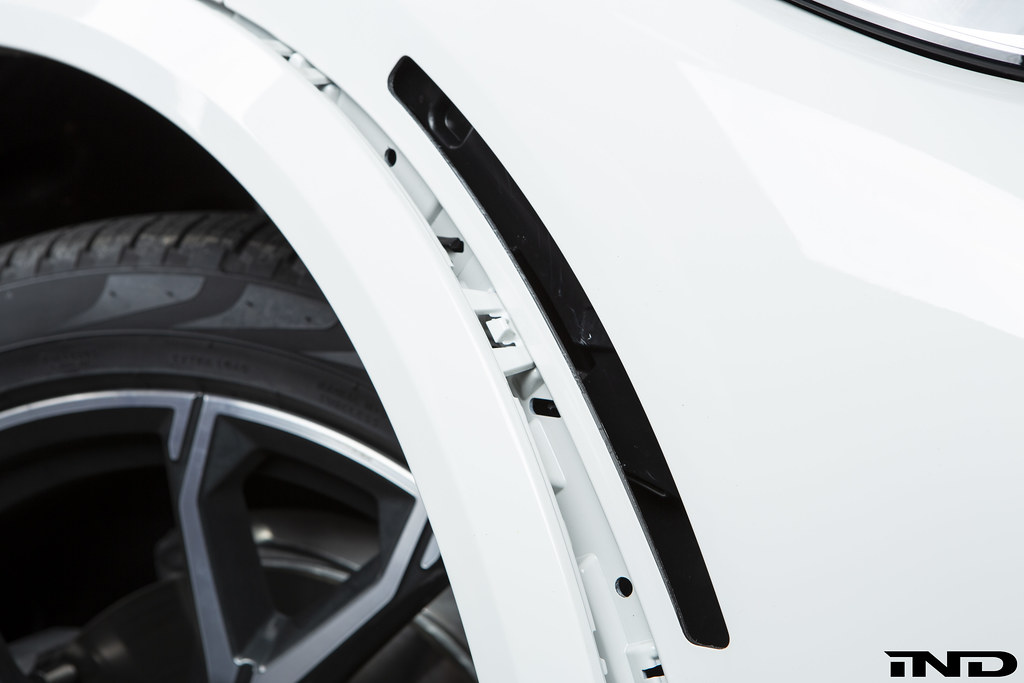
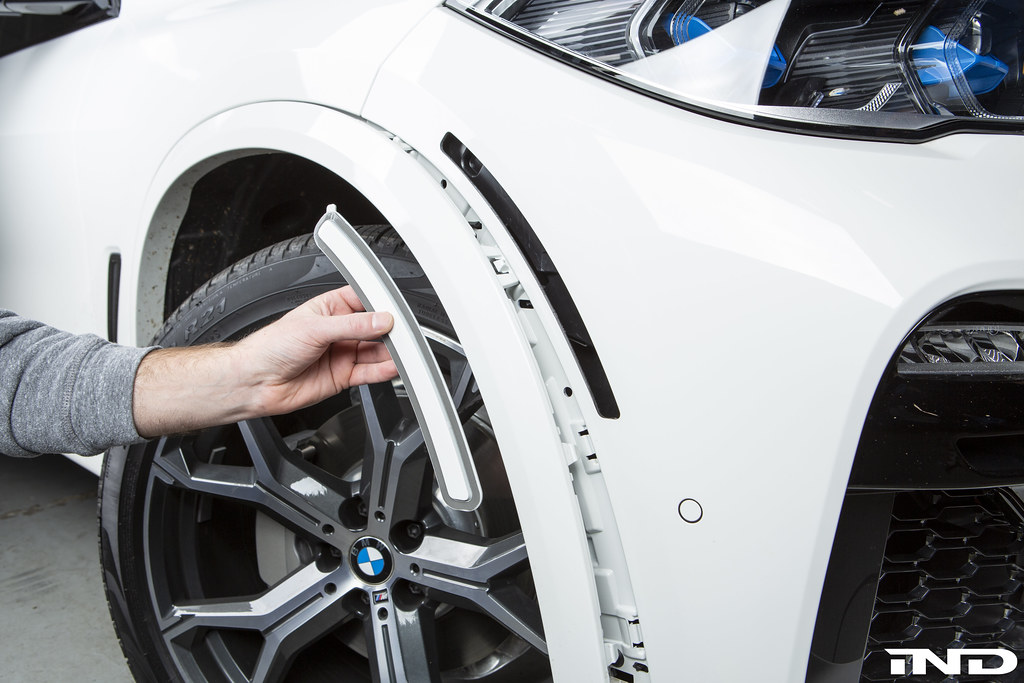
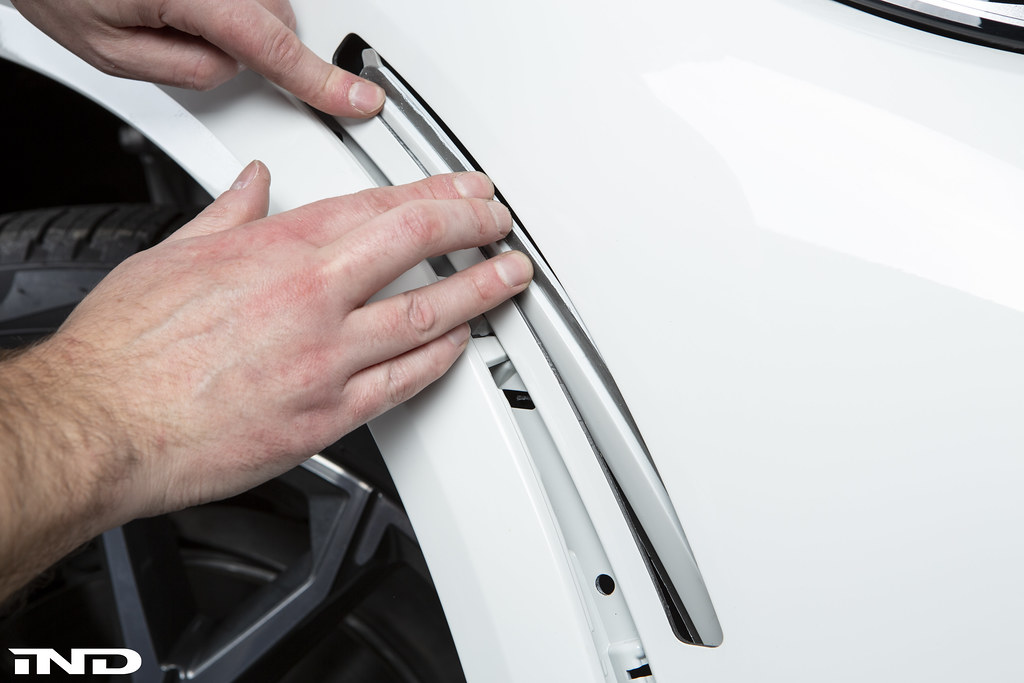
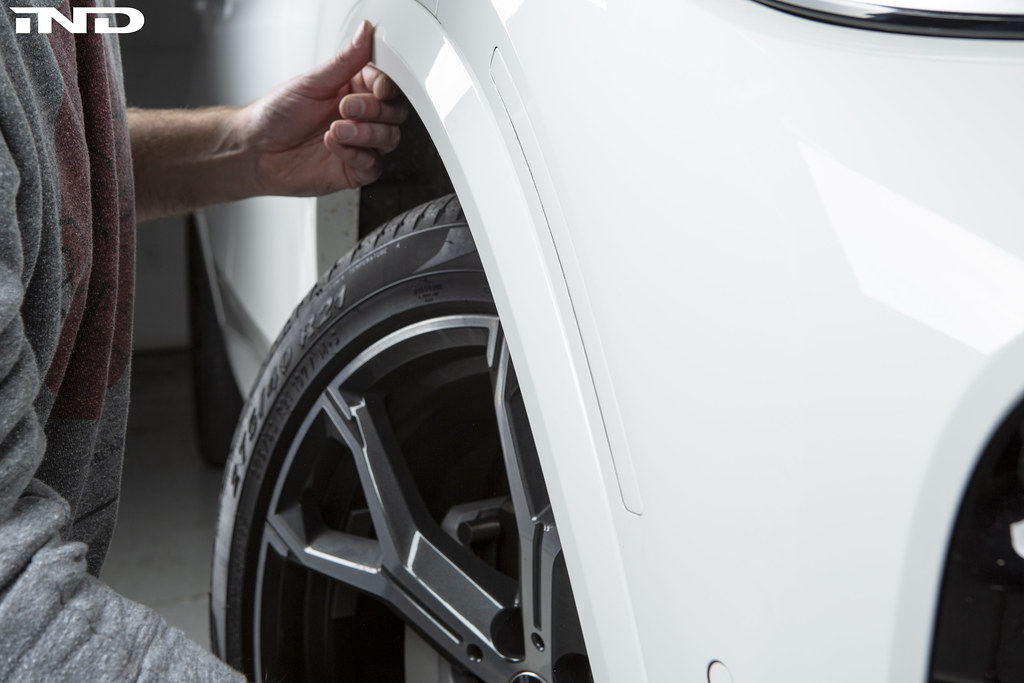
Step 3: Carefully pop the painted fender arch from its housing. There is no need to remove this piece completely; where the front bumper meets the fender is good enough.
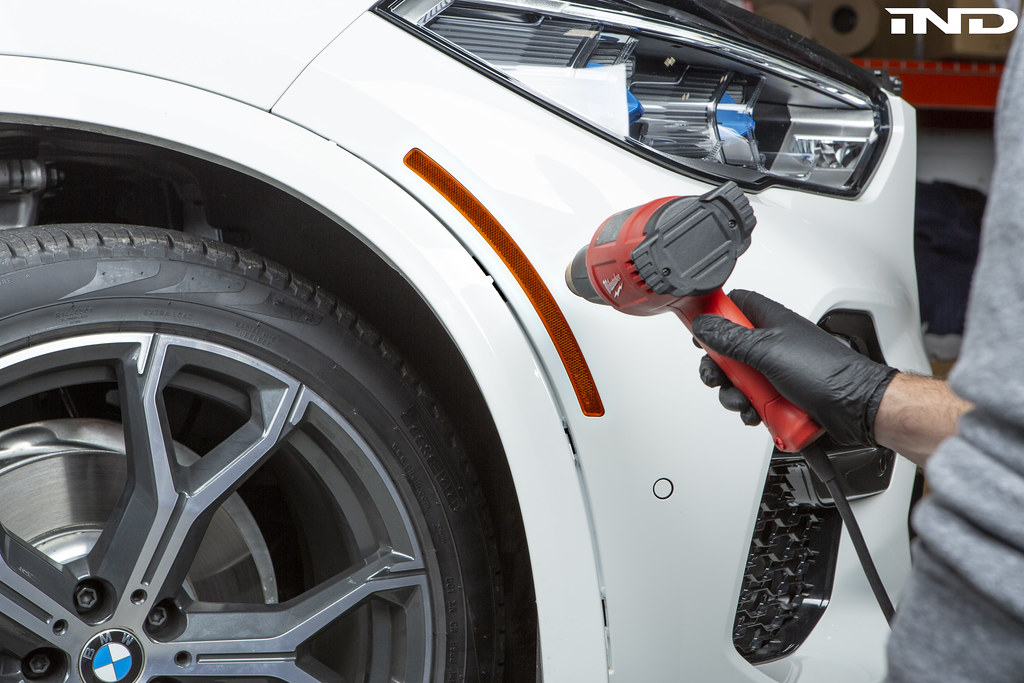
Step 4. Use a heat gun to apply uniform heat the OE reflector. This will soften the adhesive that holds the reflector in place. Please take note to keep the heat gun moving during this process to ensure no paint damage (burning) occurs.
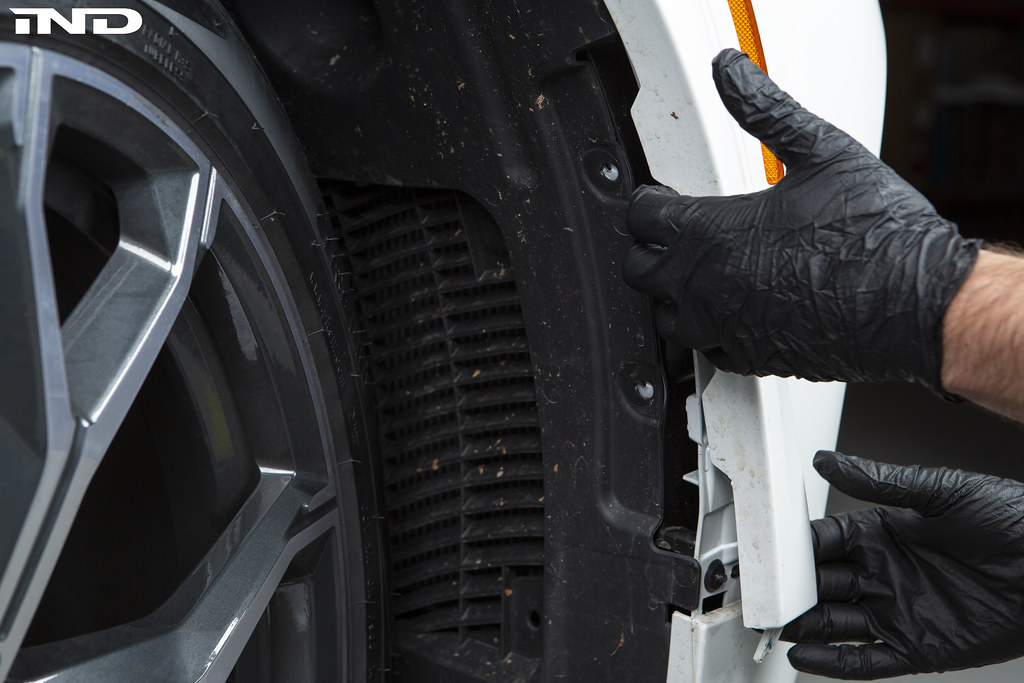
Step 5: With the reflector area properly "warmed up", use your thumbs to depress the OE unit while using your other fingers to simultaneously pull on the surrounding bumper from the inside of the fender liner. We've found it easiest to work from the bottom first.
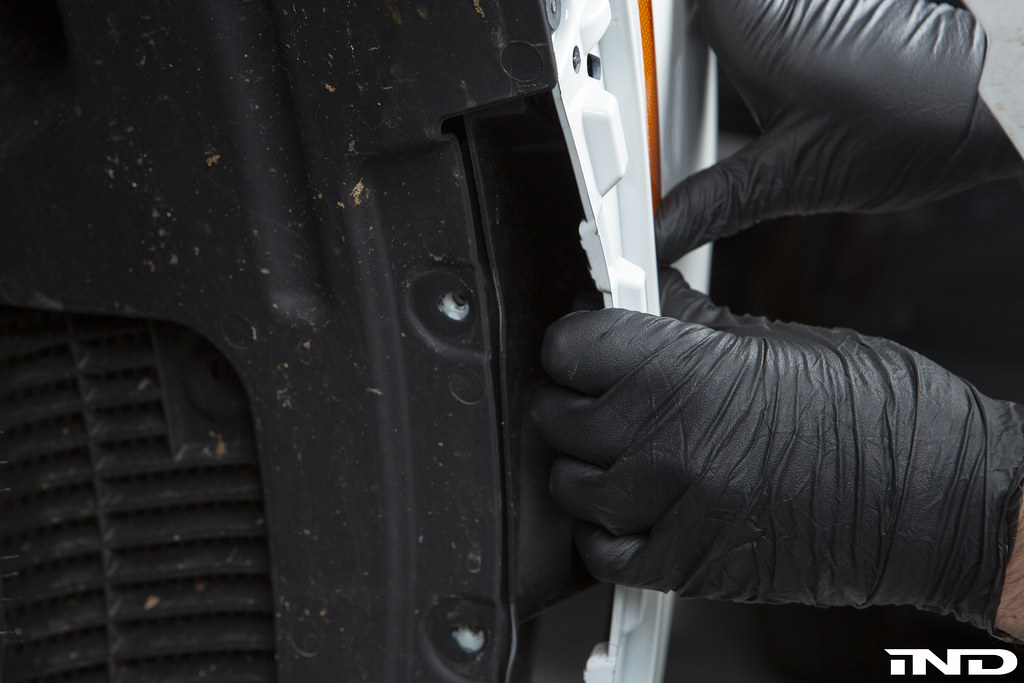
Step 6: Once the bottom of the reflector is freed from the bumper, you may slide a bondo spreader between the fender liner or "outside in" and pull it upwards to help release the adhesive.


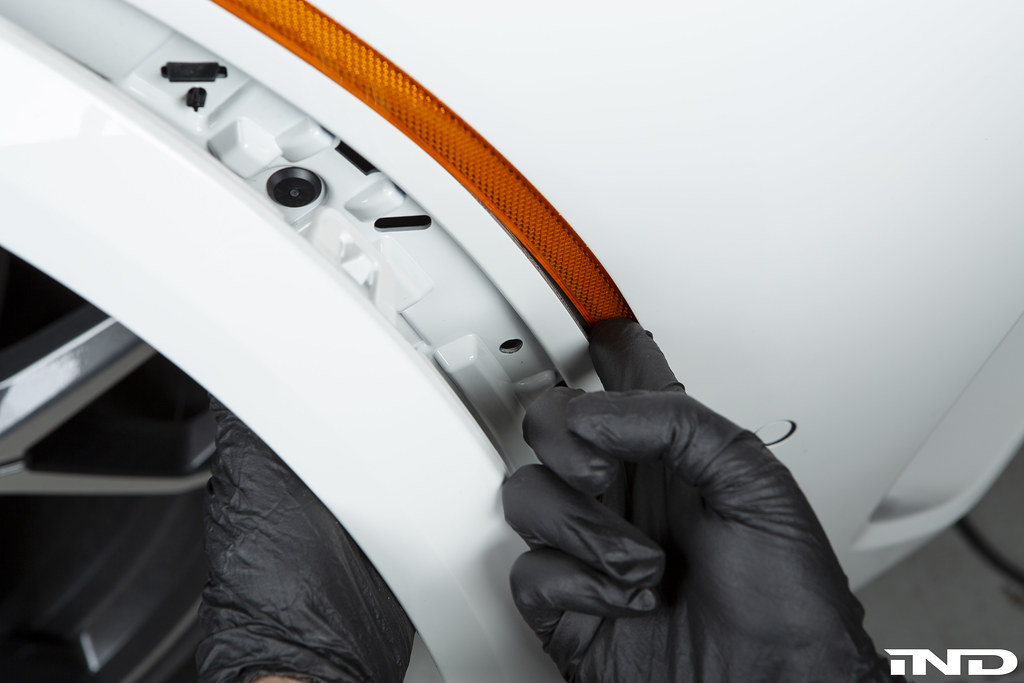
Step 7: With the reflector now completely free, you will need to slide it out from the bumper. Pull the bottom of the reflector down and towards you. This will pivot the top of reflector toward the front of the car. From here, you are able to work the reflector out through the fender liner.
NOTE: If you attempt to pull straight down instead of pivoting, it's likely that the + shaped retaining tab on the back of the reflector will get stuck on the plastic ducting element.
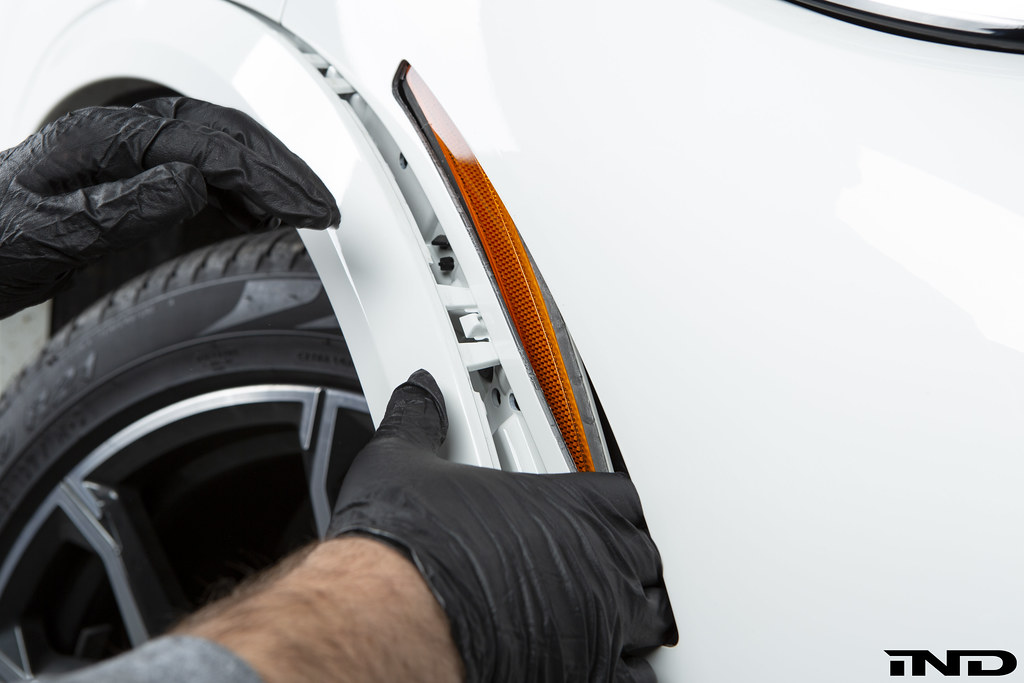
Step 8: Occasionally, all of the OE adhesive doesn't come out with the reflector. If some adhesive still remains, take some time to remove it completely from the inside of the bumper. This will ensure a uniformly flat contact area for the IND reflector replacement.
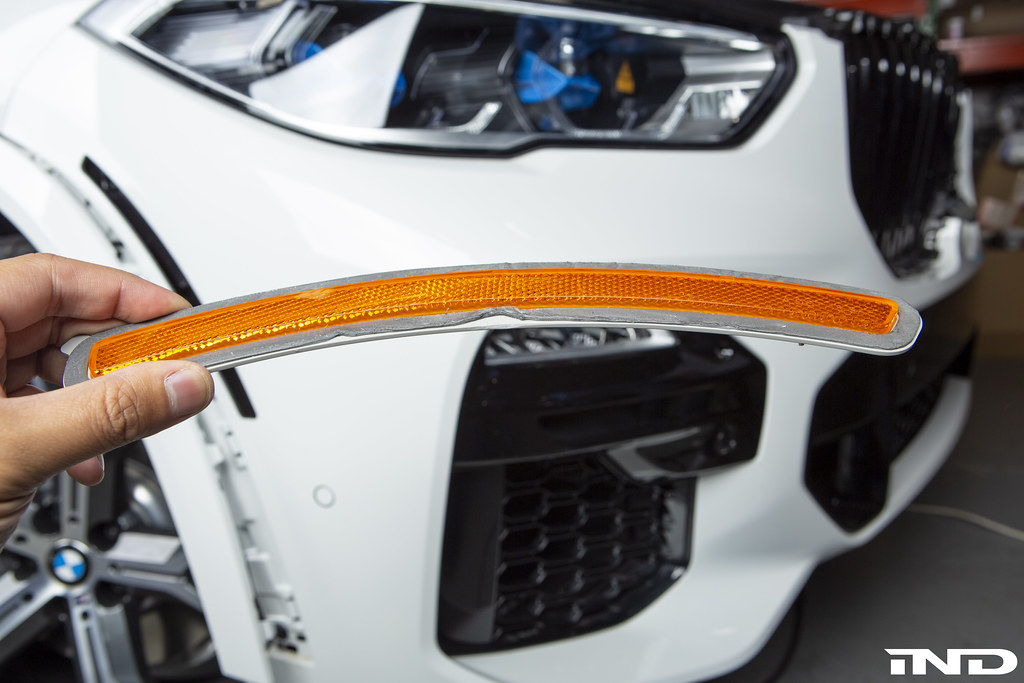
Step 9: Expose the adhesive on the IND painted reflector replacement.
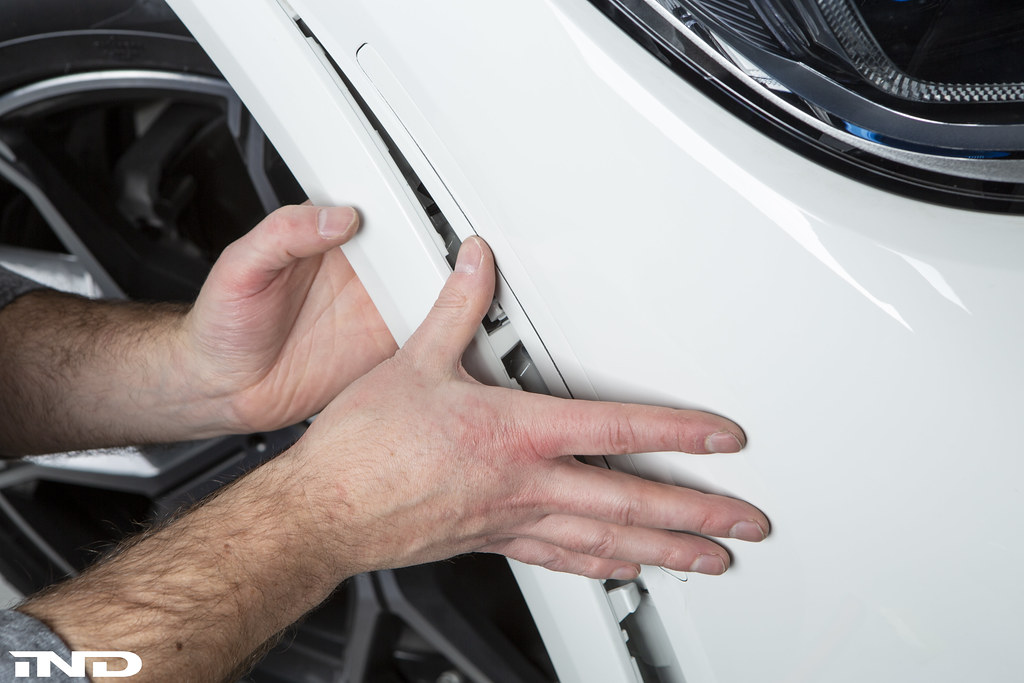
Step 10: Going from the "outside in", insert the IND reflector and position it properly. With uniform pressure behind the fender liner, adhere the IND reflector with the bumper. Similar to Step 5, you may also use your other hand to press the bumper edge forward creating a "sandwich effect" to ensure full adhesion.
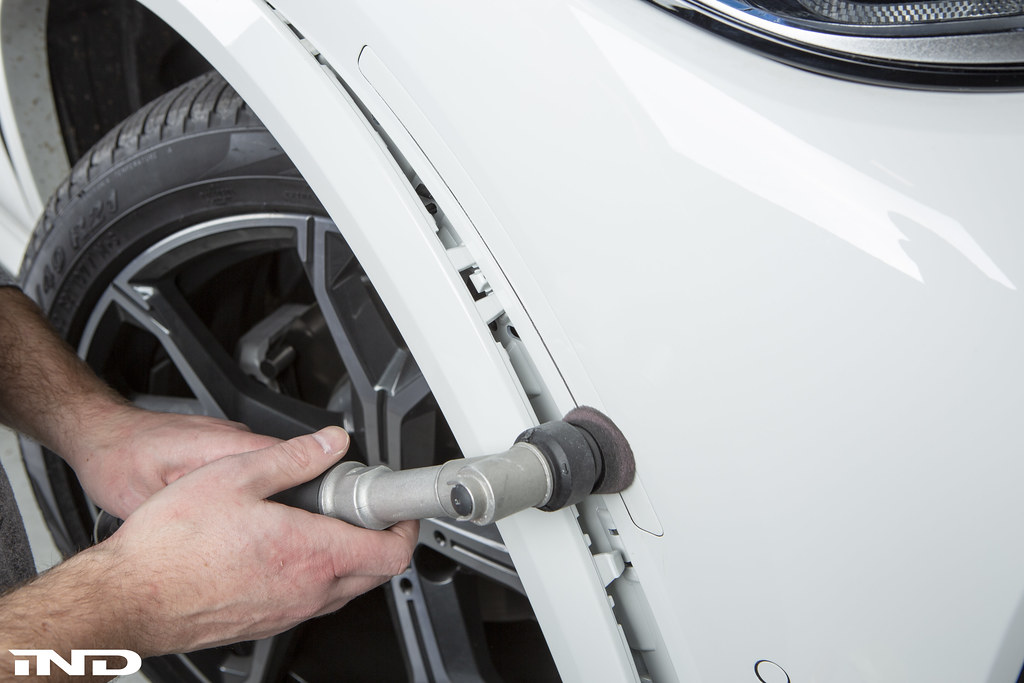
Step 11 (optional): Use a hand-held polisher to finish the front reflector.
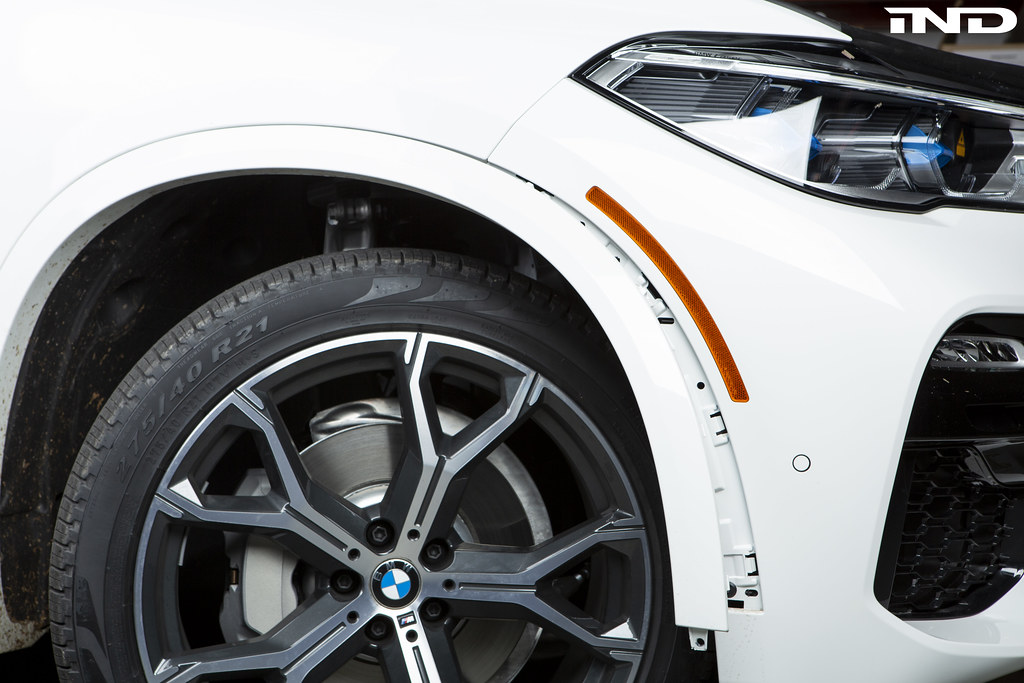
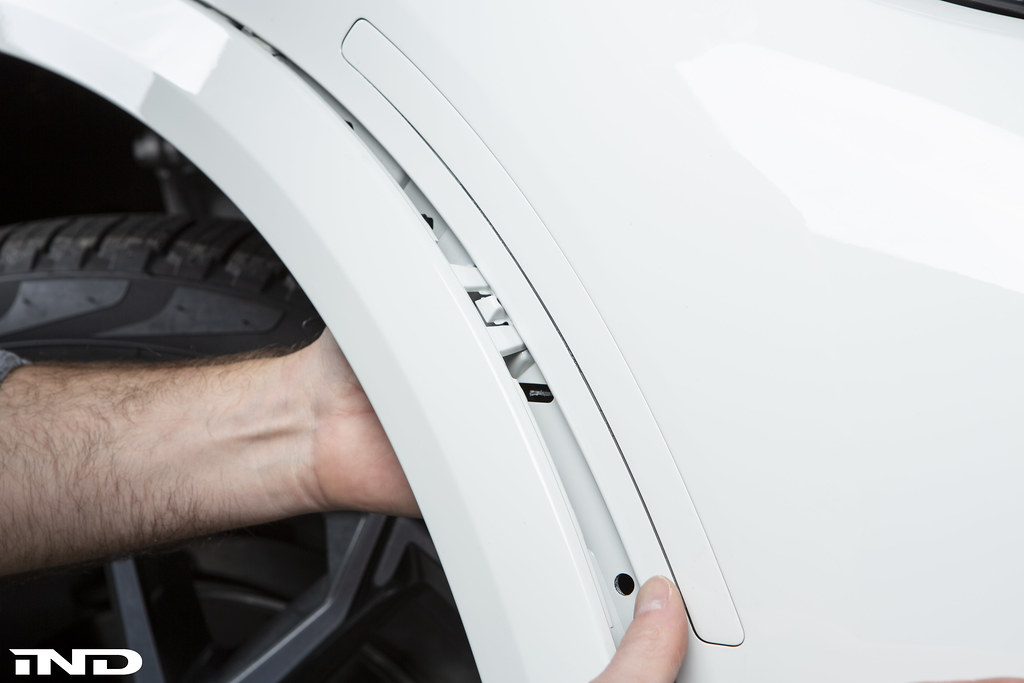
Step 12: Re-insert the OE fender arch trim, ensuring proper tab alignment prior to pushing it into place.

Step 13: Re-fasten the fender liner and install the 8mm bolts removed from Step 2.
Step 14: Repeat this procedure for the other side.