

|
|||||||
Post Reply |
|
|
Thread Tools | Search this Thread |
| 01-07-2018, 04:06 AM | #1 |
|
SLUSHIE

78
Rep 162
Posts
Drives: f80 M3 YMB
Join Date: Nov 2017
Location: Hong Kong
|
SLUSHIE - Black Line Tail Lights on YMB - Weekly Mod Journal
JOURNAL - Click the weeks for more pictures WEEK 1 - WEEK 2 - WEEK 3 - WEEK 4 - WEEK 5 - WEEK 6 - WEEK 7 - WEEK 8 - WEEK 9 - WEEK 10 - WEEK 11 - WEEK 12 - WEEK 13 - WEEK 14 - WEEK 15 - WEEK 16 - WEEK 17 - WEEK 18 - WEEK 19 - WEEK 20 - WEEK 21 - WEEK 22 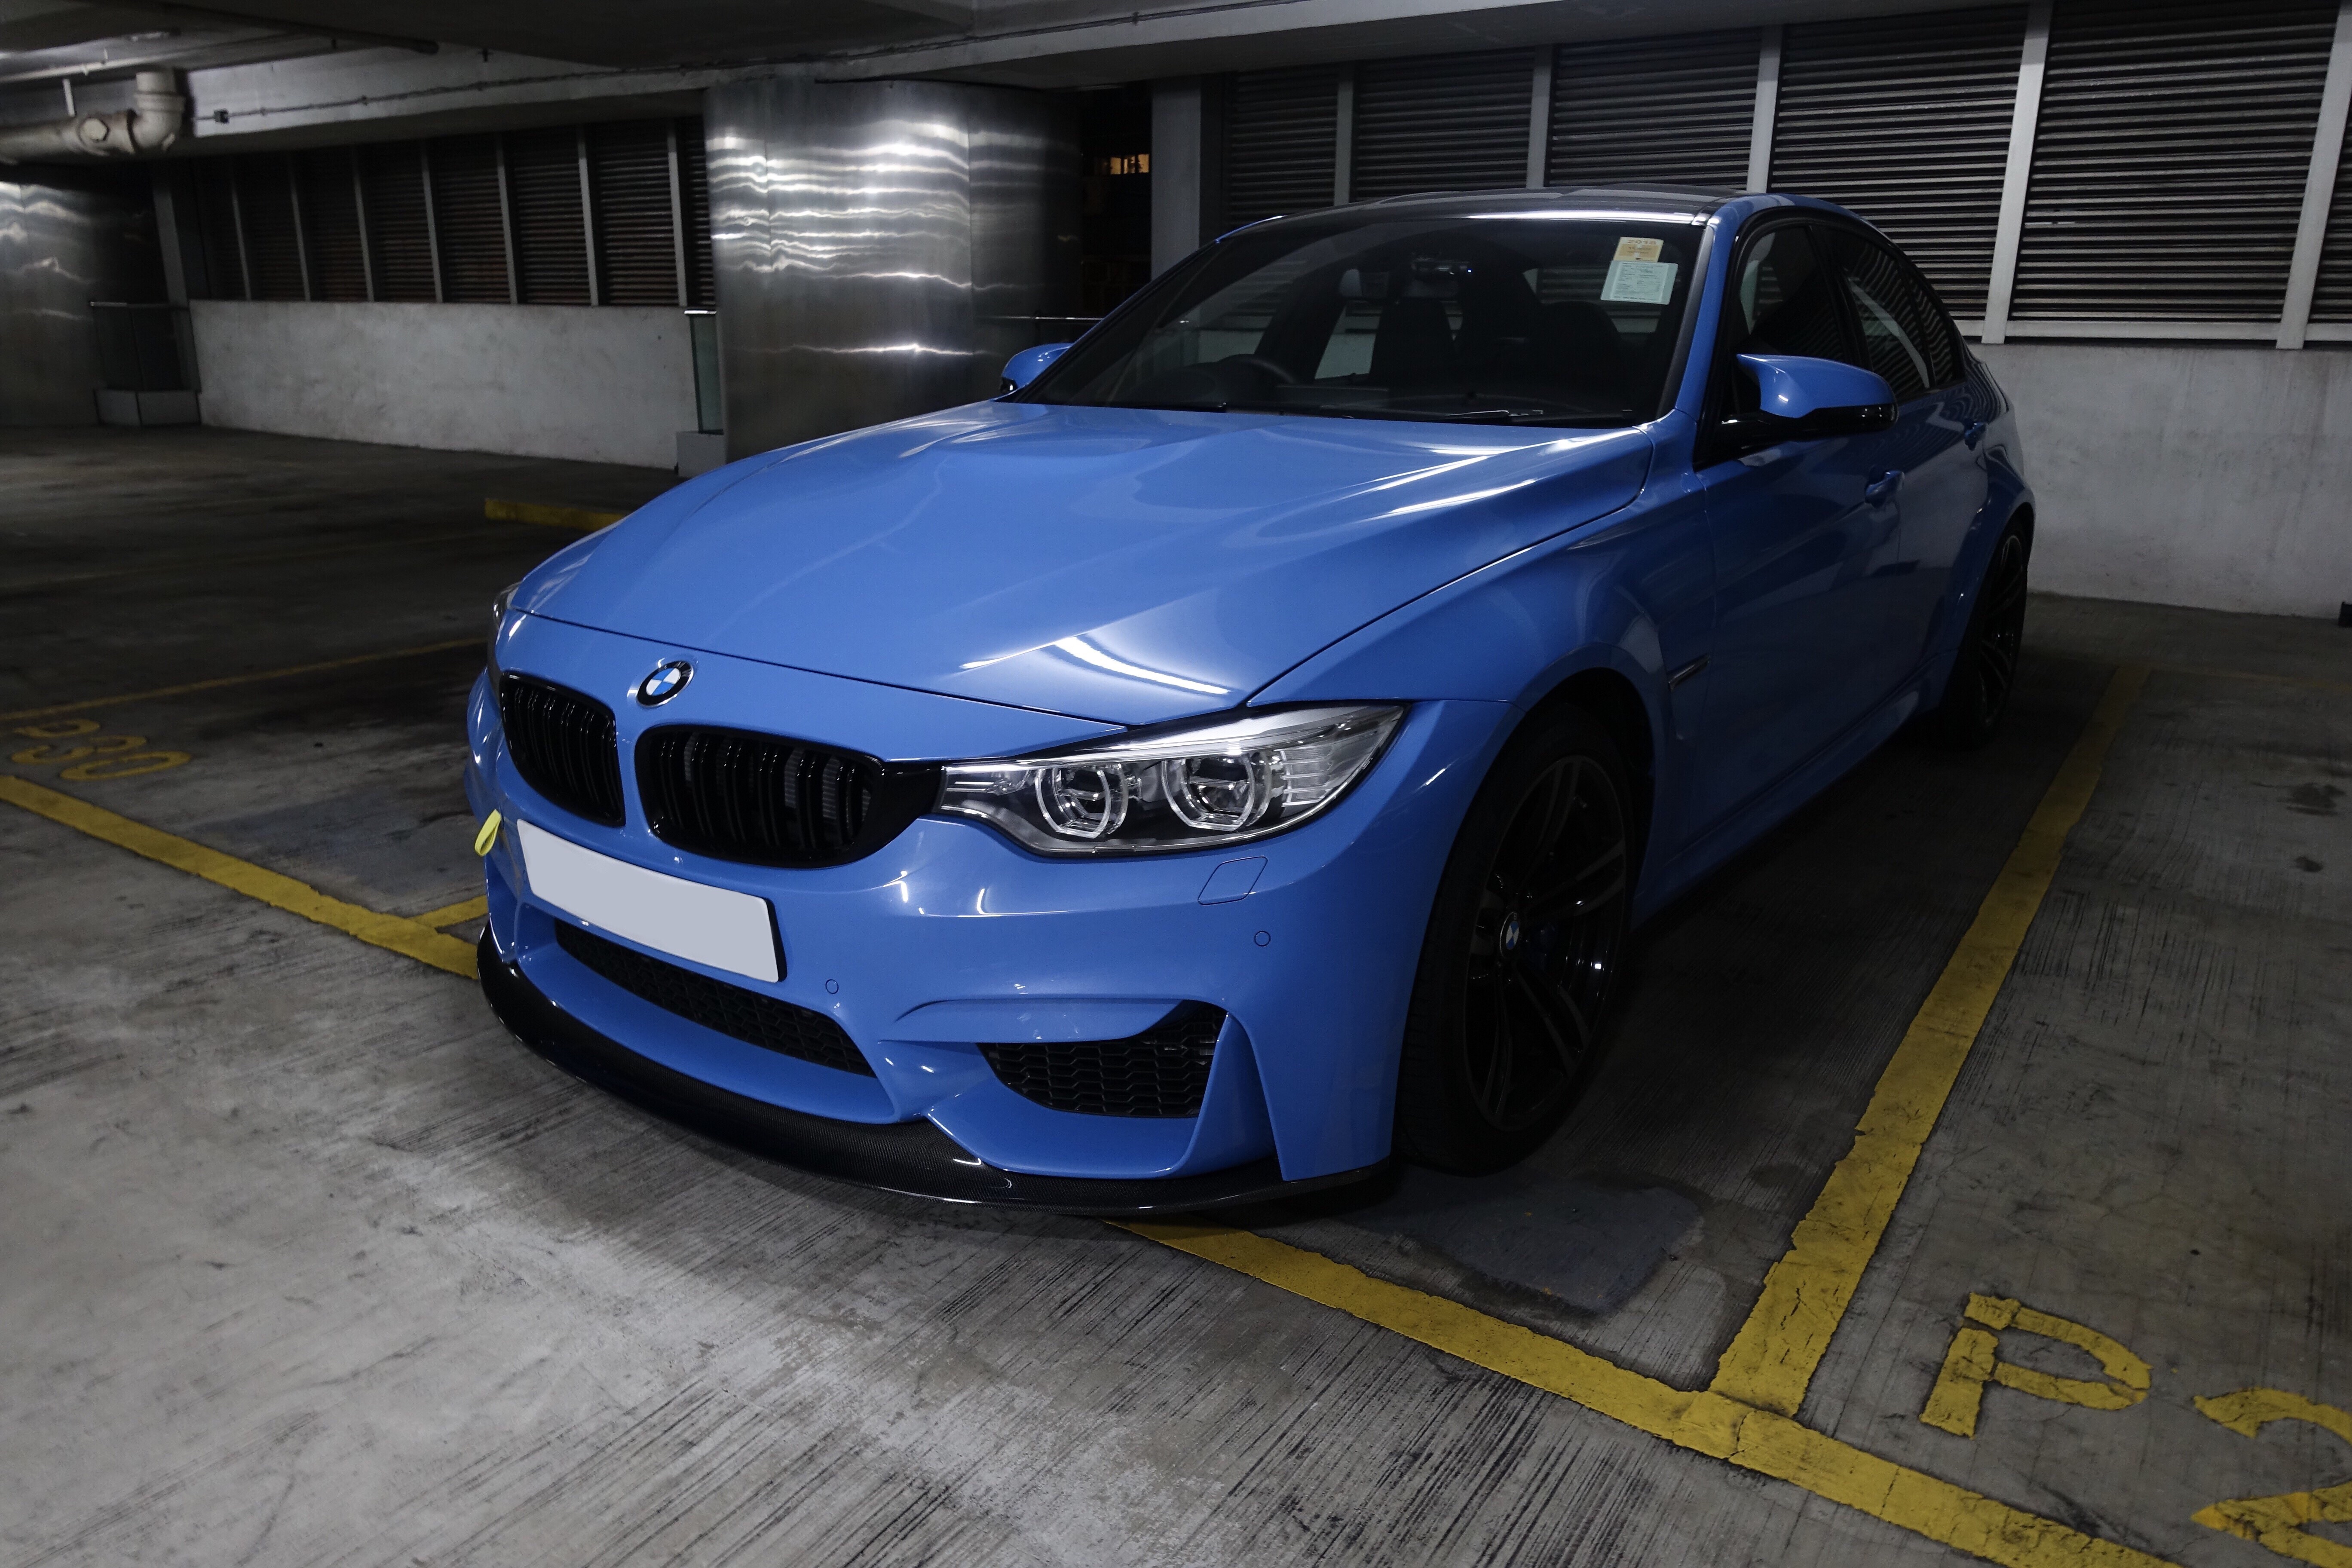  This year I want to make 1 change to my car (affectionately name SLUSHIE) every week of the year. That will make around 52 mods for the year and I hope I can keep this thread as a mini journal for it. This idea is for me to keep remembering to stay motivated and to always have a target. In 2017 I buckled too much under my workload and wasted my spare time by lazing around. This year I want to keep a better balance and do more! I guess a normal person would turn to fitness but since I recently picked up an M3.... this is the more fun choice  Hence my year long weekly build! Even if you guys are just passing by or dropping a comment; hope you enjoy some nice pictures and my mini journey. Let's see where we end up on week 52. Instagram is slushie.m3 - Will try update this as much as possible as well. ________________ Mod List Installed W1: Tow Strap and Cover - AutoTecknic and IND W2: Key Fob Case - Real Carbon Fiber W3: Front Lip 1x1 - Status Gruppe W4: Diffuser 1x1 - Status Gruppe Future Mod List (Brands just for my reference, bold means confirmed, YAS coloured means done with links to photos!) Exterior Wheels - BBS FIR or Vossen or... too many choices here Ceramic Coating - Gzox YMB Grille Surround - IND Rear Reflectors - IND Side Skirts 1x1 - PSM Dynamics Roof Spoiler - PSM Dynamics Trunk - RW Carbon Rear Lights - M Performance Black Lines New Front Bumper without the holes in it lol then a no drill mount - Carbonio Suspension - KW HAS or BMW HAS Interior Gauge - P3 DCT Selector - M Performance DCT Surround - M Performance Hand Brake - M Performance Arm Rest - M Performance Steering Wheel - Dinmann Carbon Fiber bits and bobs - NVD or North Engine Exhaust - GTHAUS or Akrapovic or Active Autowerke Intake - MSR or Eventuri Charge Pipes - Active Autowerke Heat Exchanger - CSR Cosmetic Bolts - Downstar Misc Phase 2 (wishlist) - 3DDesign Front Bumper, AMUSE inspired spoiler Introducing SLUSHIE!
__________________
IG: slushie.m3
Last edited by jnthn; 02-04-2018 at 04:44 AM.. |
| 01-07-2018, 04:30 AM | #2 |
|
SLUSHIE
78
Rep 162
Posts
Drives: f80 M3 YMB
Join Date: Nov 2017
Location: Hong Kong
|
WEEK 1 Cheating a little here as I did nothing this week, but the last thing I did to my car was the yellow tow strap so this is Week 1! I only just came up with this weekly idea, hope you guys forgive  FIT+FINISH 9/10 Not much problems here. Simple and clean install. The tow hook 'stopped' turning at an odd angle but it was long enough and just enough room behind the bumper to twist it into a good angle before poking it through the perfect IND painted cover. The cover makes it look more clean for sure. WILL I KEEP IT? Dunno This was just something small and funny I thought I'd try after seeing it done over the years of browsing bimmerpost. Although it is a tiny thing, and pretty pointless and useless, cosmetically I think it adds a secondary colour to the pastel blue of the YMB. However the front is quite busy already with the stupid license plate of mine bolted on  For now it stays!
__________________
IG: slushie.m3
Last edited by jnthn; 01-07-2018 at 04:36 AM.. |
|
Appreciate
0
|
| 01-08-2018, 01:27 PM | #4 |
|
BimmerPost Supporting Vendor

24182
Rep 190,777
Posts  |
Nice!!
You mean 52 mods per year right? not per week
__________________
Check out our current sale by clicking on this link!
https://x-ph.com/sale/ Phone number 702-494-9435  |
|
Appreciate
1
jnthn77.50 |
| 01-11-2018, 05:42 AM | #6 | |
|
SLUSHIE
78
Rep 162
Posts
Drives: f80 M3 YMB
Join Date: Nov 2017
Location: Hong Kong
|
Quote:
Oh man I already feel like I'm falling behind
__________________
IG: slushie.m3
|
|
|
Appreciate
0
|
| 01-13-2018, 10:23 PM | #9 |
|
Colonel
 1883
Rep 2,924
Posts |
Perfect !!!
__________________
Currently: '24 Mercedes G63 | '24 Porsche GT3 RS | '24 Volkswagen GTI
Previous BMWs: 340i, 740i, 745Li, M3, M4 Previous Others: Audi, Ducati, Honda, Infiniti, Land Rover, Mercedes-Benz, MINI, Mitsubishi, Porsche, Toyota, Volkswagen |
|
Appreciate
1
jnthn77.50 |
| 01-14-2018, 07:57 AM | #10 |
|
SLUSHIE
78
Rep 162
Posts
Drives: f80 M3 YMB
Join Date: Nov 2017
Location: Hong Kong
|
Cheers to all the comments! Hope to bring bigger and bigger mods. Lots of stuff ordered
WEEK 2 I am back in Australia this week so just a Key Fob modification this week!   FIT+FINISH 10/10 Genuinely surprised by the quality of this key fob case. Thus it gets a 10. I thought it would have a lot of inconsistent weaving, imperfections in the clear coat finish but nope! To my surprise something from China now matches perfectly with my interior of my car! WILL I KEEP IT? Definitely! For sure! I actually tried a few others. A leather case; this was too big and chunky. I tried a silicone skin, kinda like those phone cases. Felt tacky. This is lightweight, simple and turns some cheap plastic into something a little more happy to pick up!
__________________
IG: slushie.m3
Last edited by jnthn; 01-29-2018 at 10:09 AM.. |
|
Appreciate
0
|
| 01-21-2018, 09:24 AM | #11 |
|
SLUSHIE
78
Rep 162
Posts
Drives: f80 M3 YMB
Join Date: Nov 2017
Location: Hong Kong
|
WEEK 3 Finally installed my Status Gruppe front lip!!! Looks pretty damn amazing. First lip I've ever had on a car  Lining up to install it. I managed to do this DIY.   Installed!       First thing I did was to check if my ramp at work would scrape. Was veryyyyy close... Don't think I can lower my car now that I have this lip lol  FIT+FINISH 8.5/10 Fit was pretty much on point. This was the first time I've ever installed a lip and it was quite hassle free. Will discuss some problems I had personally later. Once I lined up the holes one by one alternating on each side. It pretty much fell into place. Install was simple, remove the screws at the bottom of the bumper. The 3 on each end will release the rubber guards for you to slide the lip between the guard and the bumper. With that snug it held up the bumper enough for you to line up the holes and re-screw in those bolts. The problem with screwing the bolt back in, I accidentally push a clip off the bumper. The symptom of this was pushing the screw back in but it couldn't catch onto anything and wouldn't start screwing in. If you feel this, most likely the bumper clip that has a threaded hole on it, popped off. Luckily I manage to find it on the passenger side (if it was the driver side the radiator would have been in the way), then clip it off. To access it I had to remove the door wheel covers. The second problem I had was; well since I don't have a jack or jack stands, I had to do this without jacking the car up. This meant I couldn't fit my drill underneath. There were 4 self tapping screws to install. I had to use a small wrench with a screwdriver bit in it. Luckily the plastic bumper was not tough and the screws provided by Status Gruppe were good. The last issue is, I needed to install two more bolts in the middle; but I couldn't as the bolt were not self tapping. I also didn't know how to get behind the bumper to hold the bolt down either. For this I have sent Status Gruppe an email to enquire. Status Gruppe MNF unless this is faster So to review the lip. Quality wise the clear coat finish was good. There were some parts, especially apparent on the edge that was not perfectly smooth but only if you paid close attention. The weave is not the tightest I've seen but it looks pretty damn good. The look of the lip however, is perfect. It is understated yet quite aggressive. It fills out the two indentations on the bumper making it flow and blend into the lip very well. It is a simple curve design but the finish on the side, the indents and how it fits with the bumper; I love it and I think the choice is great. I think this photo shows what I mean by flows with the car and fills up the bottom the most: The piece is only just 1 thin layer however I think this keeps it lightweight and it does seem like it will hold up well. To ensure I get as long as I can out of this lip I have also ordered some door edge rubber stuff so I can run it across the bottom of the lip! WILL I KEEP IT? DEFINITELY After looking at all the lips out there, none really complemented the kinda odd looking front bumper of the M3 (in my opinion). When I finally saw the Status Gruppe lip I was immediately drawn to the simplicity. The value of this lip is also amazing. I don't think I will be replacing it any time soon, unless maybe I do change my bumper Let me know if you guys have any questions!
__________________
IG: slushie.m3
Last edited by jnthn; 01-29-2018 at 10:16 AM.. |
|
Appreciate
0
|
| 01-28-2018, 07:48 AM | #12 |
|
SLUSHIE
78
Rep 162
Posts
Drives: f80 M3 YMB
Join Date: Nov 2017
Location: Hong Kong
|
WEEK 4 Also got the Status Gruppe diffuser installed!     Bonus photo! FIT+FINISH+QUALITY 9/10 Installation was perfect and simple but couldn't get it aligned perfectly, one side was always a little further out. But I got it fairly close to even after a bit. Finish was pretty much perfect. Only a little bit of inconsistency on the edge if you looked at it from an extreme angle. WILL I KEEP IT? Yup I only wanted the center piece diffuser, did not want the full extended one as I felt none on the market looked good to me. I ultimately landed on SG as I was going to order a lip from them as well. It is slightly more aggressive than the regular M Performance one. The fins extend a bit further in the middle and can cover the exhaust muffler better. Originally I wanted the Arkym as it is bloody aggressive but it only comes in 2x2 and I wanted to keep 1x1 across the exterior of my car. There are not any other center only diffusers in 1x1. Unless Arkym can make me one in 1x1, I don't think I will change! (Unfortunately it seems Arkym is out of business? As I can't find any info.)
__________________
IG: slushie.m3
Last edited by jnthn; 01-29-2018 at 10:18 AM.. |
|
Appreciate
0
|
| 01-28-2018, 09:37 AM | #15 | |
|
SLUSHIE
78
Rep 162
Posts
Drives: f80 M3 YMB
Join Date: Nov 2017
Location: Hong Kong
|
Quote:
Can only I see the photos? 
__________________
IG: slushie.m3
|
|
|
Appreciate
0
|
| 01-28-2018, 11:42 AM | #17 | |
|
New Member
45
Rep 17
Posts |
Quote:

__________________
Instagram: satinm3
|
|
|
Appreciate
1
jnthn77.50 |
| 01-29-2018, 09:37 AM | #18 | ||
|
SLUSHIE
78
Rep 162
Posts
Drives: f80 M3 YMB
Join Date: Nov 2017
Location: Hong Kong
|
Quote:
Quote:
__________________
IG: slushie.m3
|
||
|
Appreciate
0
|
| 01-29-2018, 10:21 AM | #19 | |
|
SLUSHIE
78
Rep 162
Posts
Drives: f80 M3 YMB
Join Date: Nov 2017
Location: Hong Kong
|
Quote:
__________________
IG: slushie.m3
|
|
|
Appreciate
0
|
| 02-04-2018, 04:40 AM | #20 |
|
SLUSHIE
78
Rep 162
Posts
Drives: f80 M3 YMB
Join Date: Nov 2017
Location: Hong Kong
|
Ok I've been so busy this week, week 5 will have better pics and be formatted better later.
Here are some dark phone shots first but this week was some ass workout - Black Line tail lights from Schmeidmann and rear reflectors from IND. I fked up the paint removing the original reflectors on one side.... but I am still happy because I'm learning haha. DIY experience!!! The headlights were easy. The liner in the trunk was fun to take off. Need to buy next > Side Skirts and Roof Spoiler
__________________
IG: slushie.m3
|
|
Appreciate
0
|
Post Reply |
| Bookmarks |
|
|


